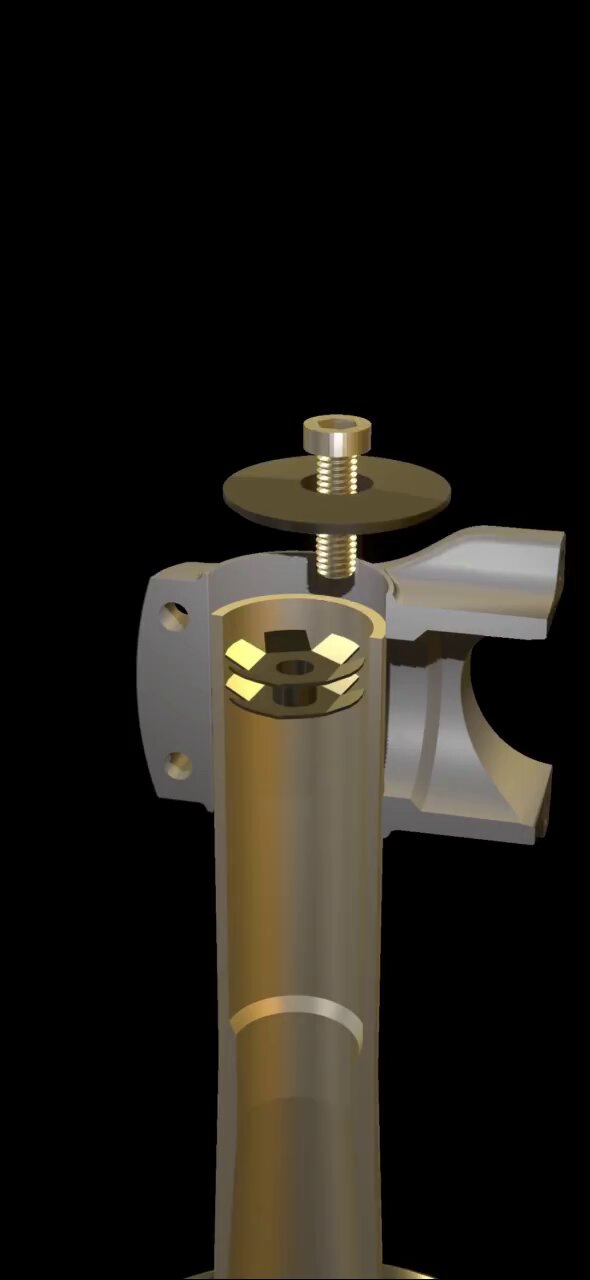
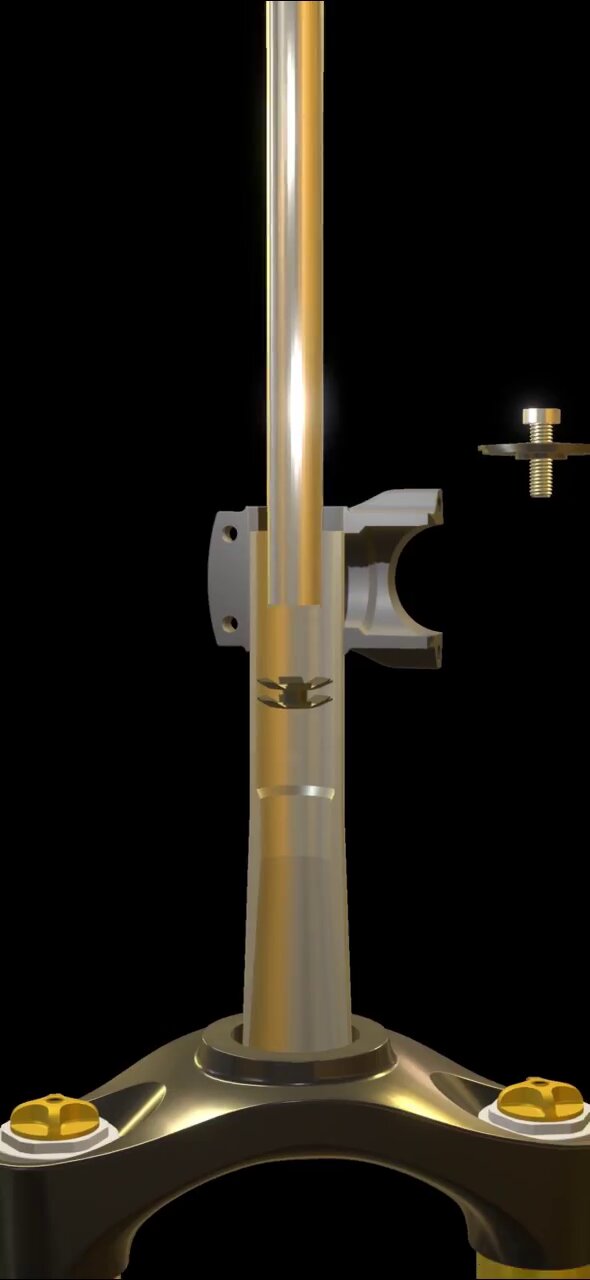
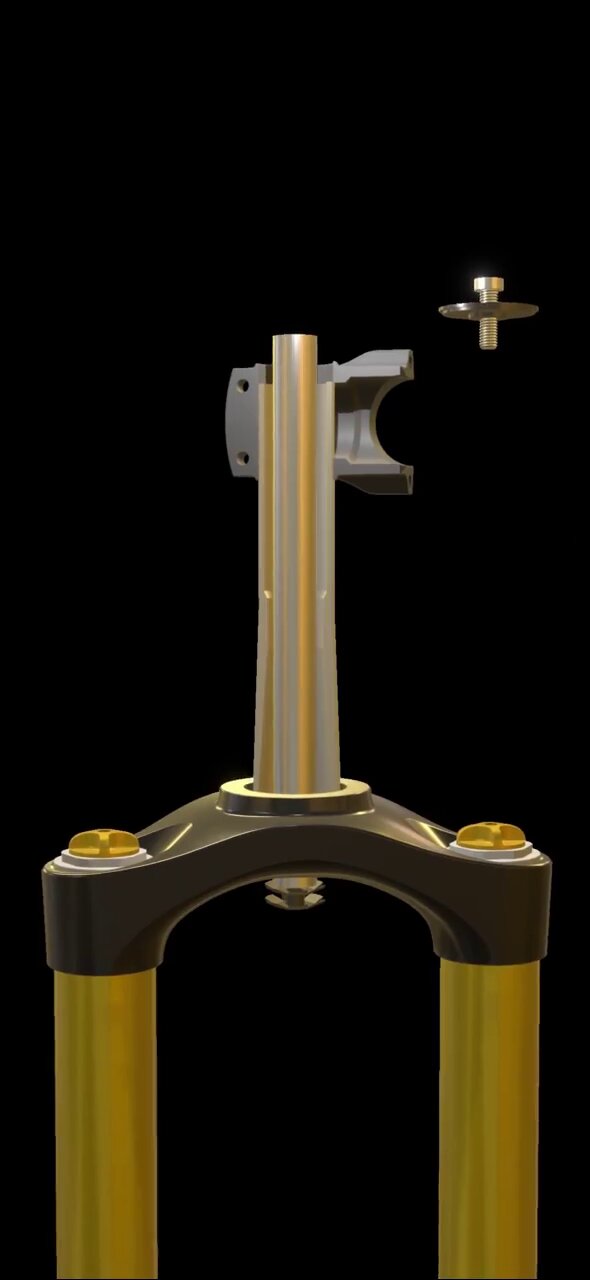
Here you will find a description of the TrackHead installation in the head tube, if you have any other questions, try the FAQ or contact us directly using the contact form.
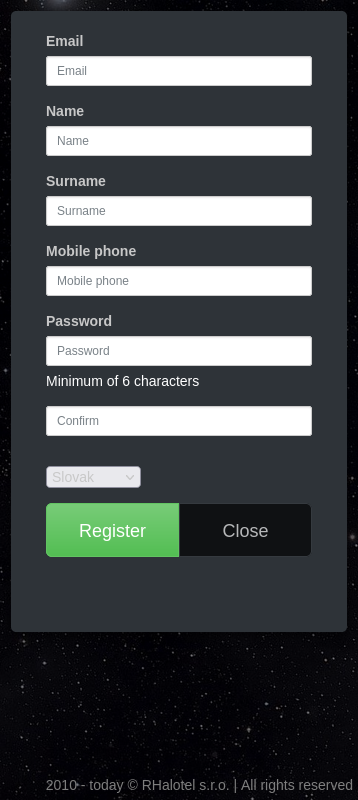
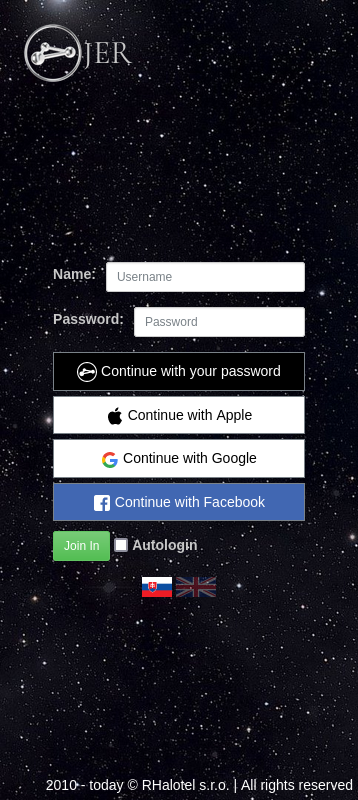
To pair the device, it is necessary to register on the portal where the TrackHead device configuration application module is located. The first step is to open the website https://www.jizdny.org/rado-os/# or a smartphone application downloaded from GooglePlay or the AppStore. The previews shown below are from the web version of the application. The first step is the registration on the JER connect portal . Registration is possible via social networks or the registration form. As shown on below the users can select either by continuing with their Social network account or they can use Join In button and fill in the Registration form.
Adding a device
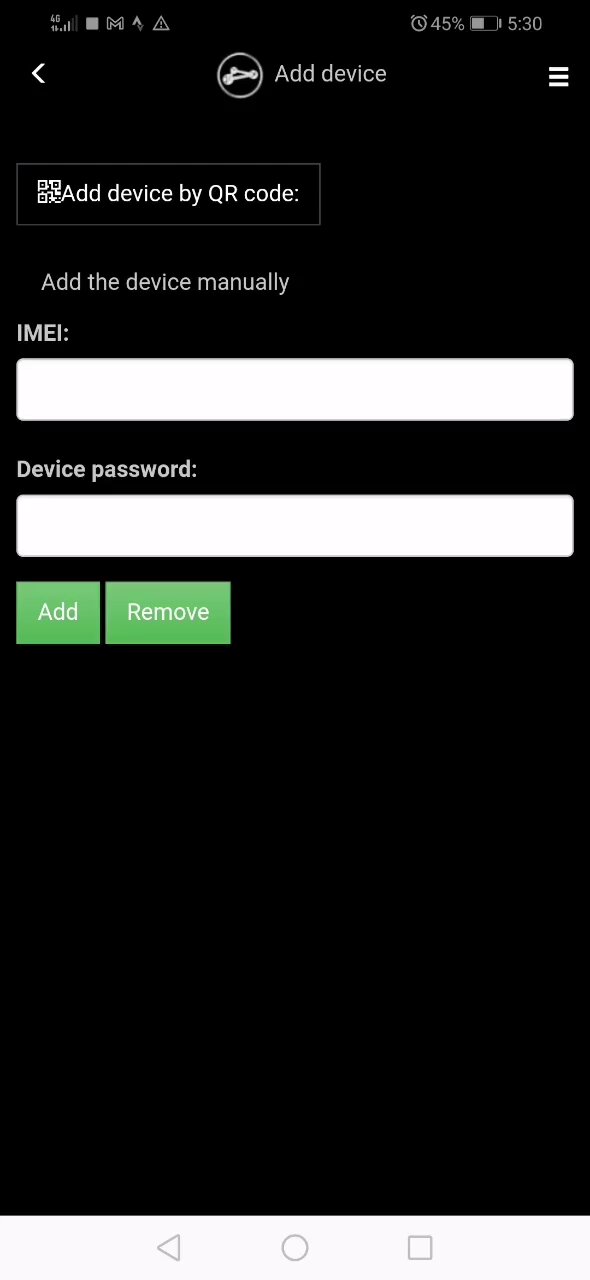
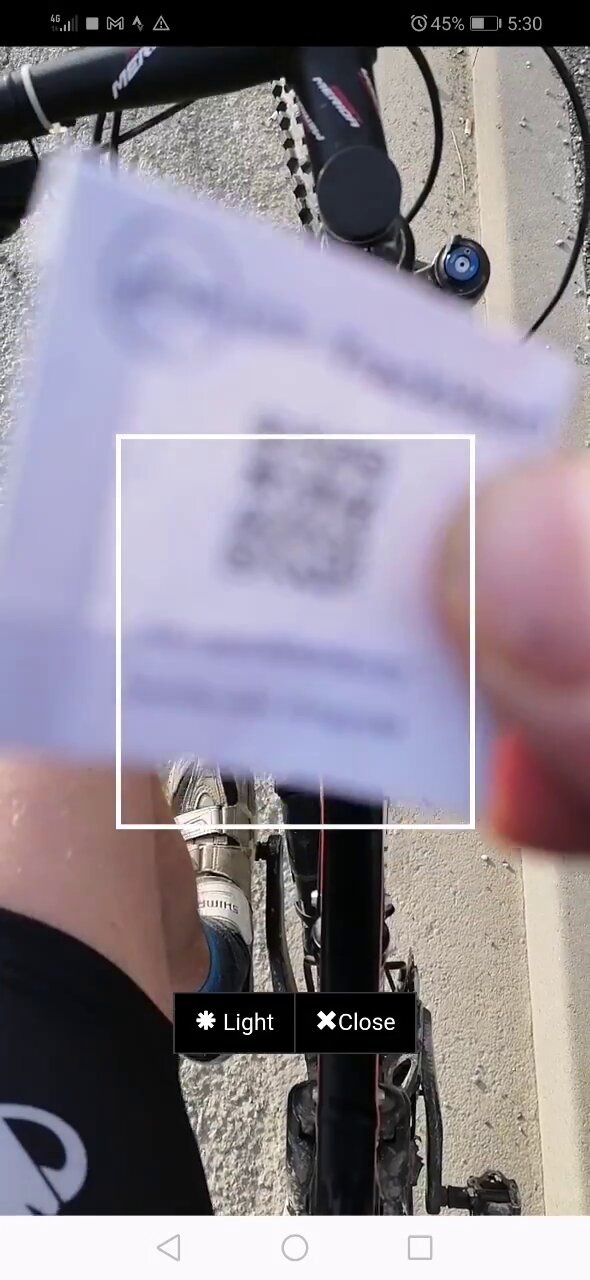
Add Device button is in Main menu → Devices. Aſter selecting this button, the window shown below will be displayed. Aſter filling in the data from the activation card, or by scanning the QR code from the product packaging, and pressing the Add buttn, you will add the device to your list. Aſter adding the device, the application informs you about the status of the operation. If needed, you can remove the device from the list the same way. Enter the information of the device you want to remove and press the Remove button to confirm. The application again provides information about the status of the operation.
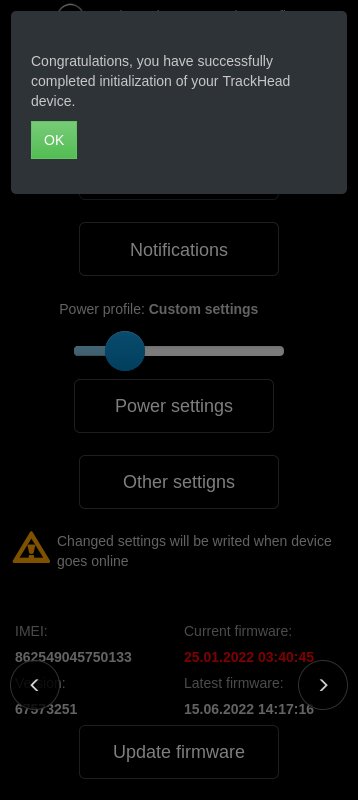
Interactive Wizard
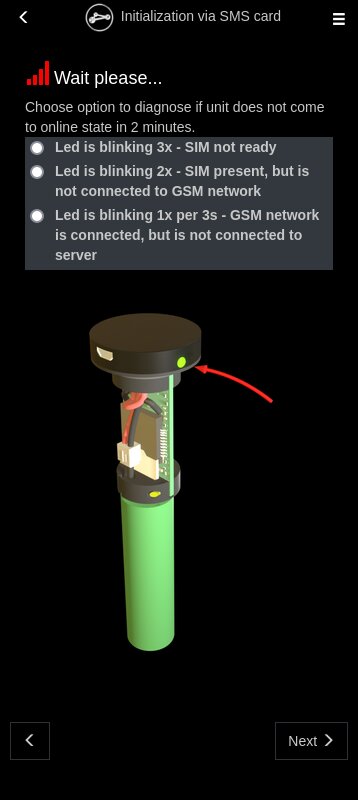
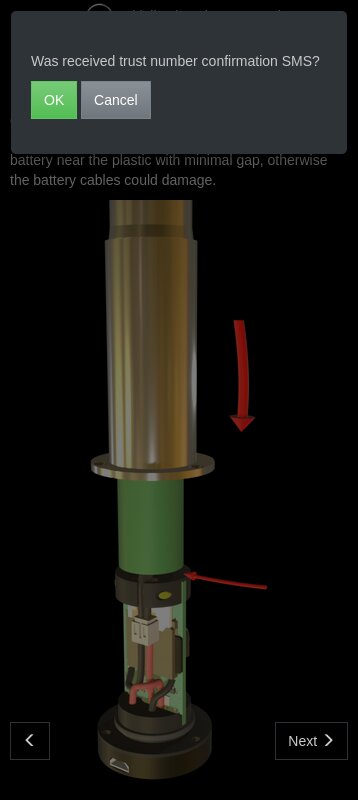
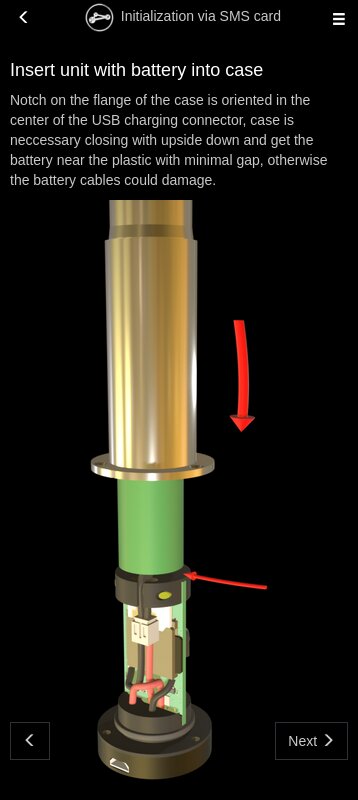
After the device is added, an interactive configuration wizard manual appears. Follow the guide step by step to successfully initialize TrackHead. Users can initialize and use the device quite effectively, because interactive manual guides the user step by step to interact with device and wizard forms and can understand basic features easily. It also contains diagnostic features and recommendation for correction of common problems.
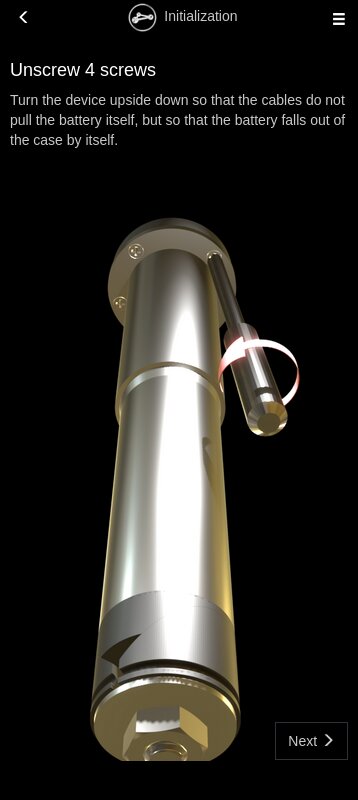
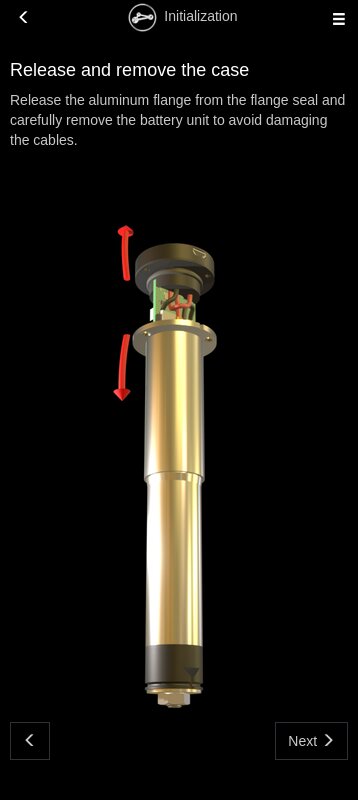
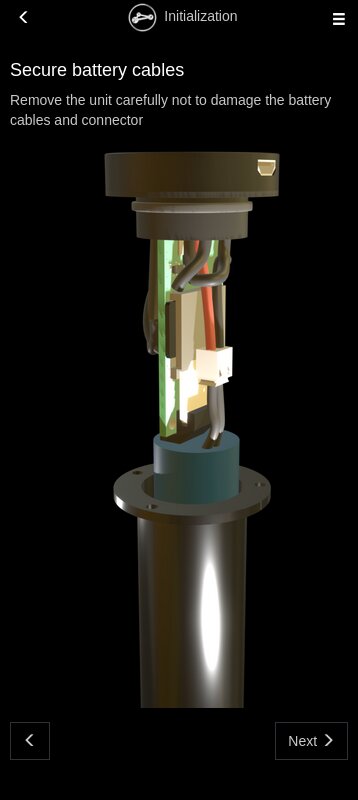
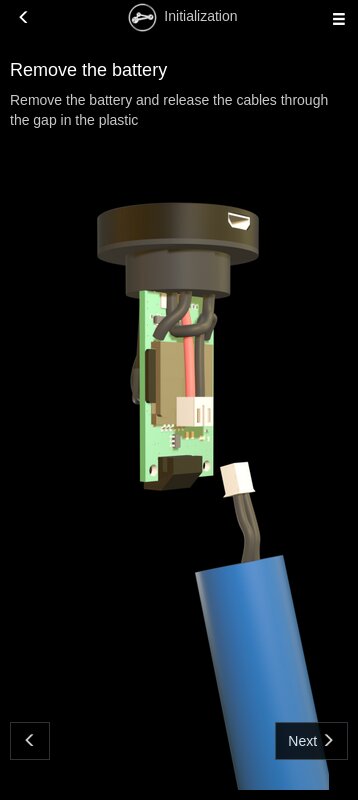
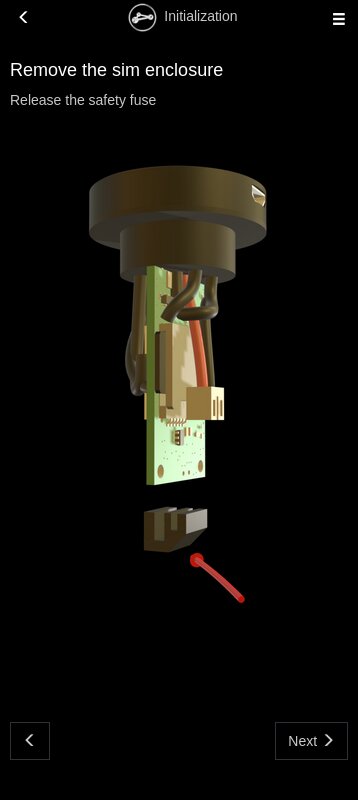
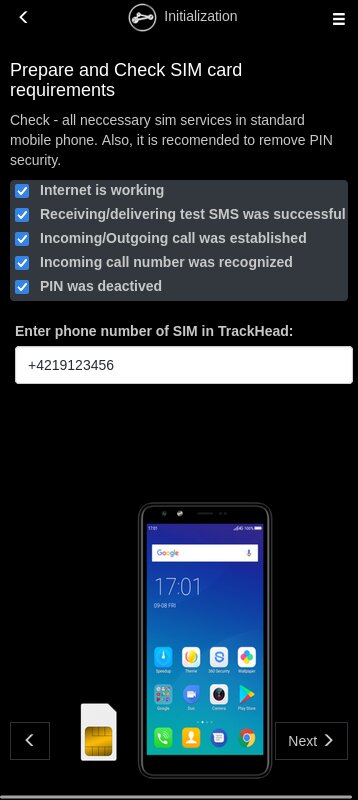
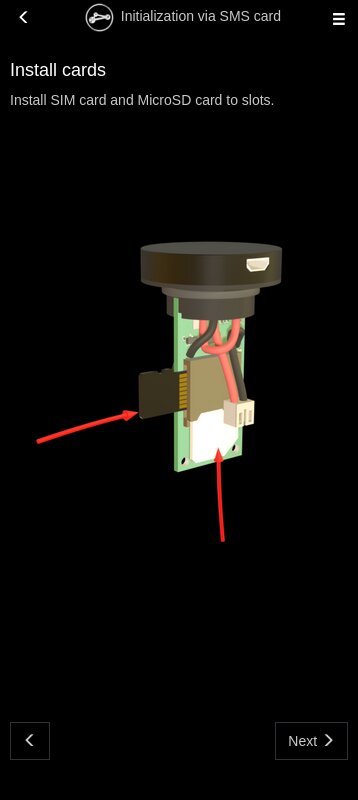
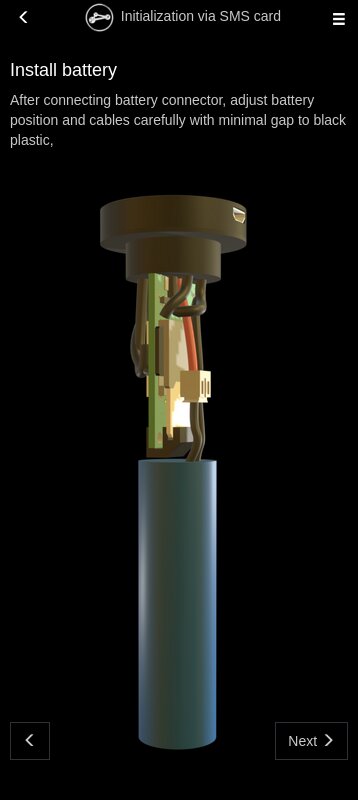
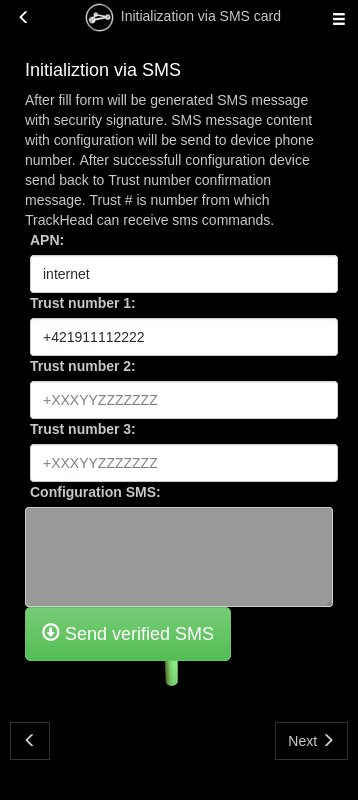
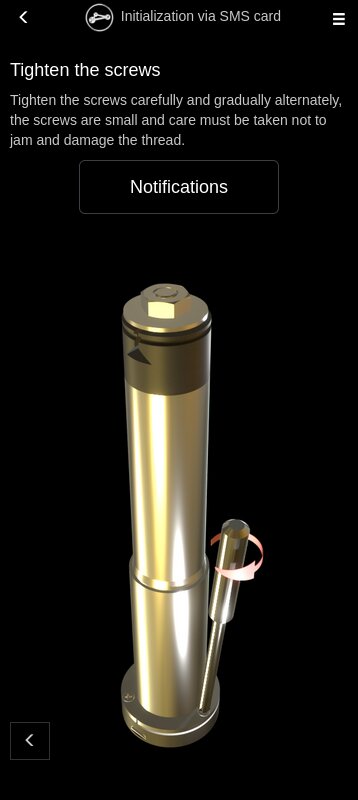
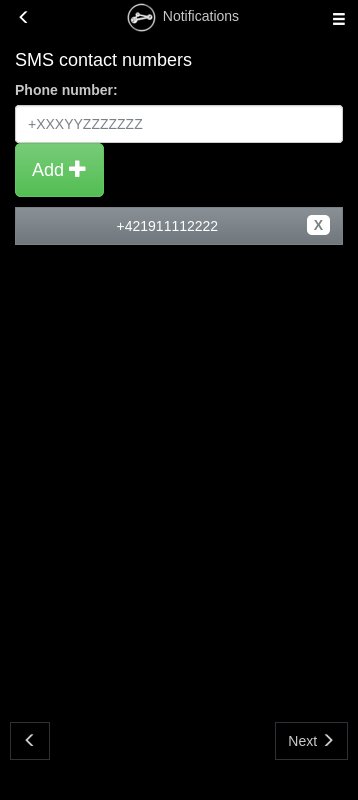
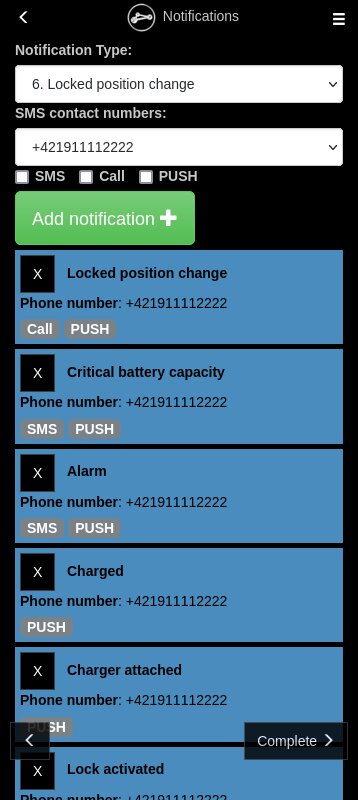
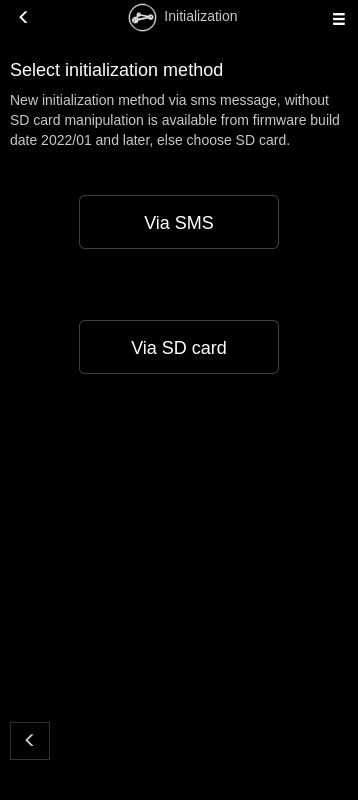
Initialization process
Do not forget to set correct Trustnumber 1 and APN. Thanks to this wizard, user can set device successfully, without a need to read every line of user paper guide. Initialization is more simple than the previous process with editing config file on SD card. Now, the user fills in the form and sends security SMS by one button touch.
JER-Connect Initialization guide
Also you can find initialization instructions in online document / video manual.